Some Known Facts About Tile Installation San Antonio.
The Best Strategy To Use For Tile Installation San Antonio
Table of ContentsA Biased View of Tile Installation San AntonioSome Ideas on Tile Installation San Antonio You Should KnowThe smart Trick of Tile Installation San Antonio That Nobody is Talking AboutThe 2-Minute Rule for Tile Installation San AntonioTile Installation San Antonio - The FactsThe Buzz on Tile Installation San Antonio
As soon as you have actually ended up laying floor tile, allow the thinset completely dry for 24 hours prior to grouting.Prepare your area for grouting by cleaning off any excess thinset press out and also in cement joints. An utility blade works the finest to clean out the cement joints.
Begin using your grout with a grout float. Hold it at a 45 angle while also coming at your cement line diagonally.
The 10-Second Trick For Tile Installation San Antonio
See to it to complete the joint entirely inside out. We such as to suggest alternating grouting and cleaning up and also switching over back as well as forth every 1030 minutes depending upon the type of cement, temperature level as well as various other factors. That's why it is essential to identify the open time. Beware not to make use of excessive water when cleaning up as it can leach the pigment out of the grout as well as lighten the shade.
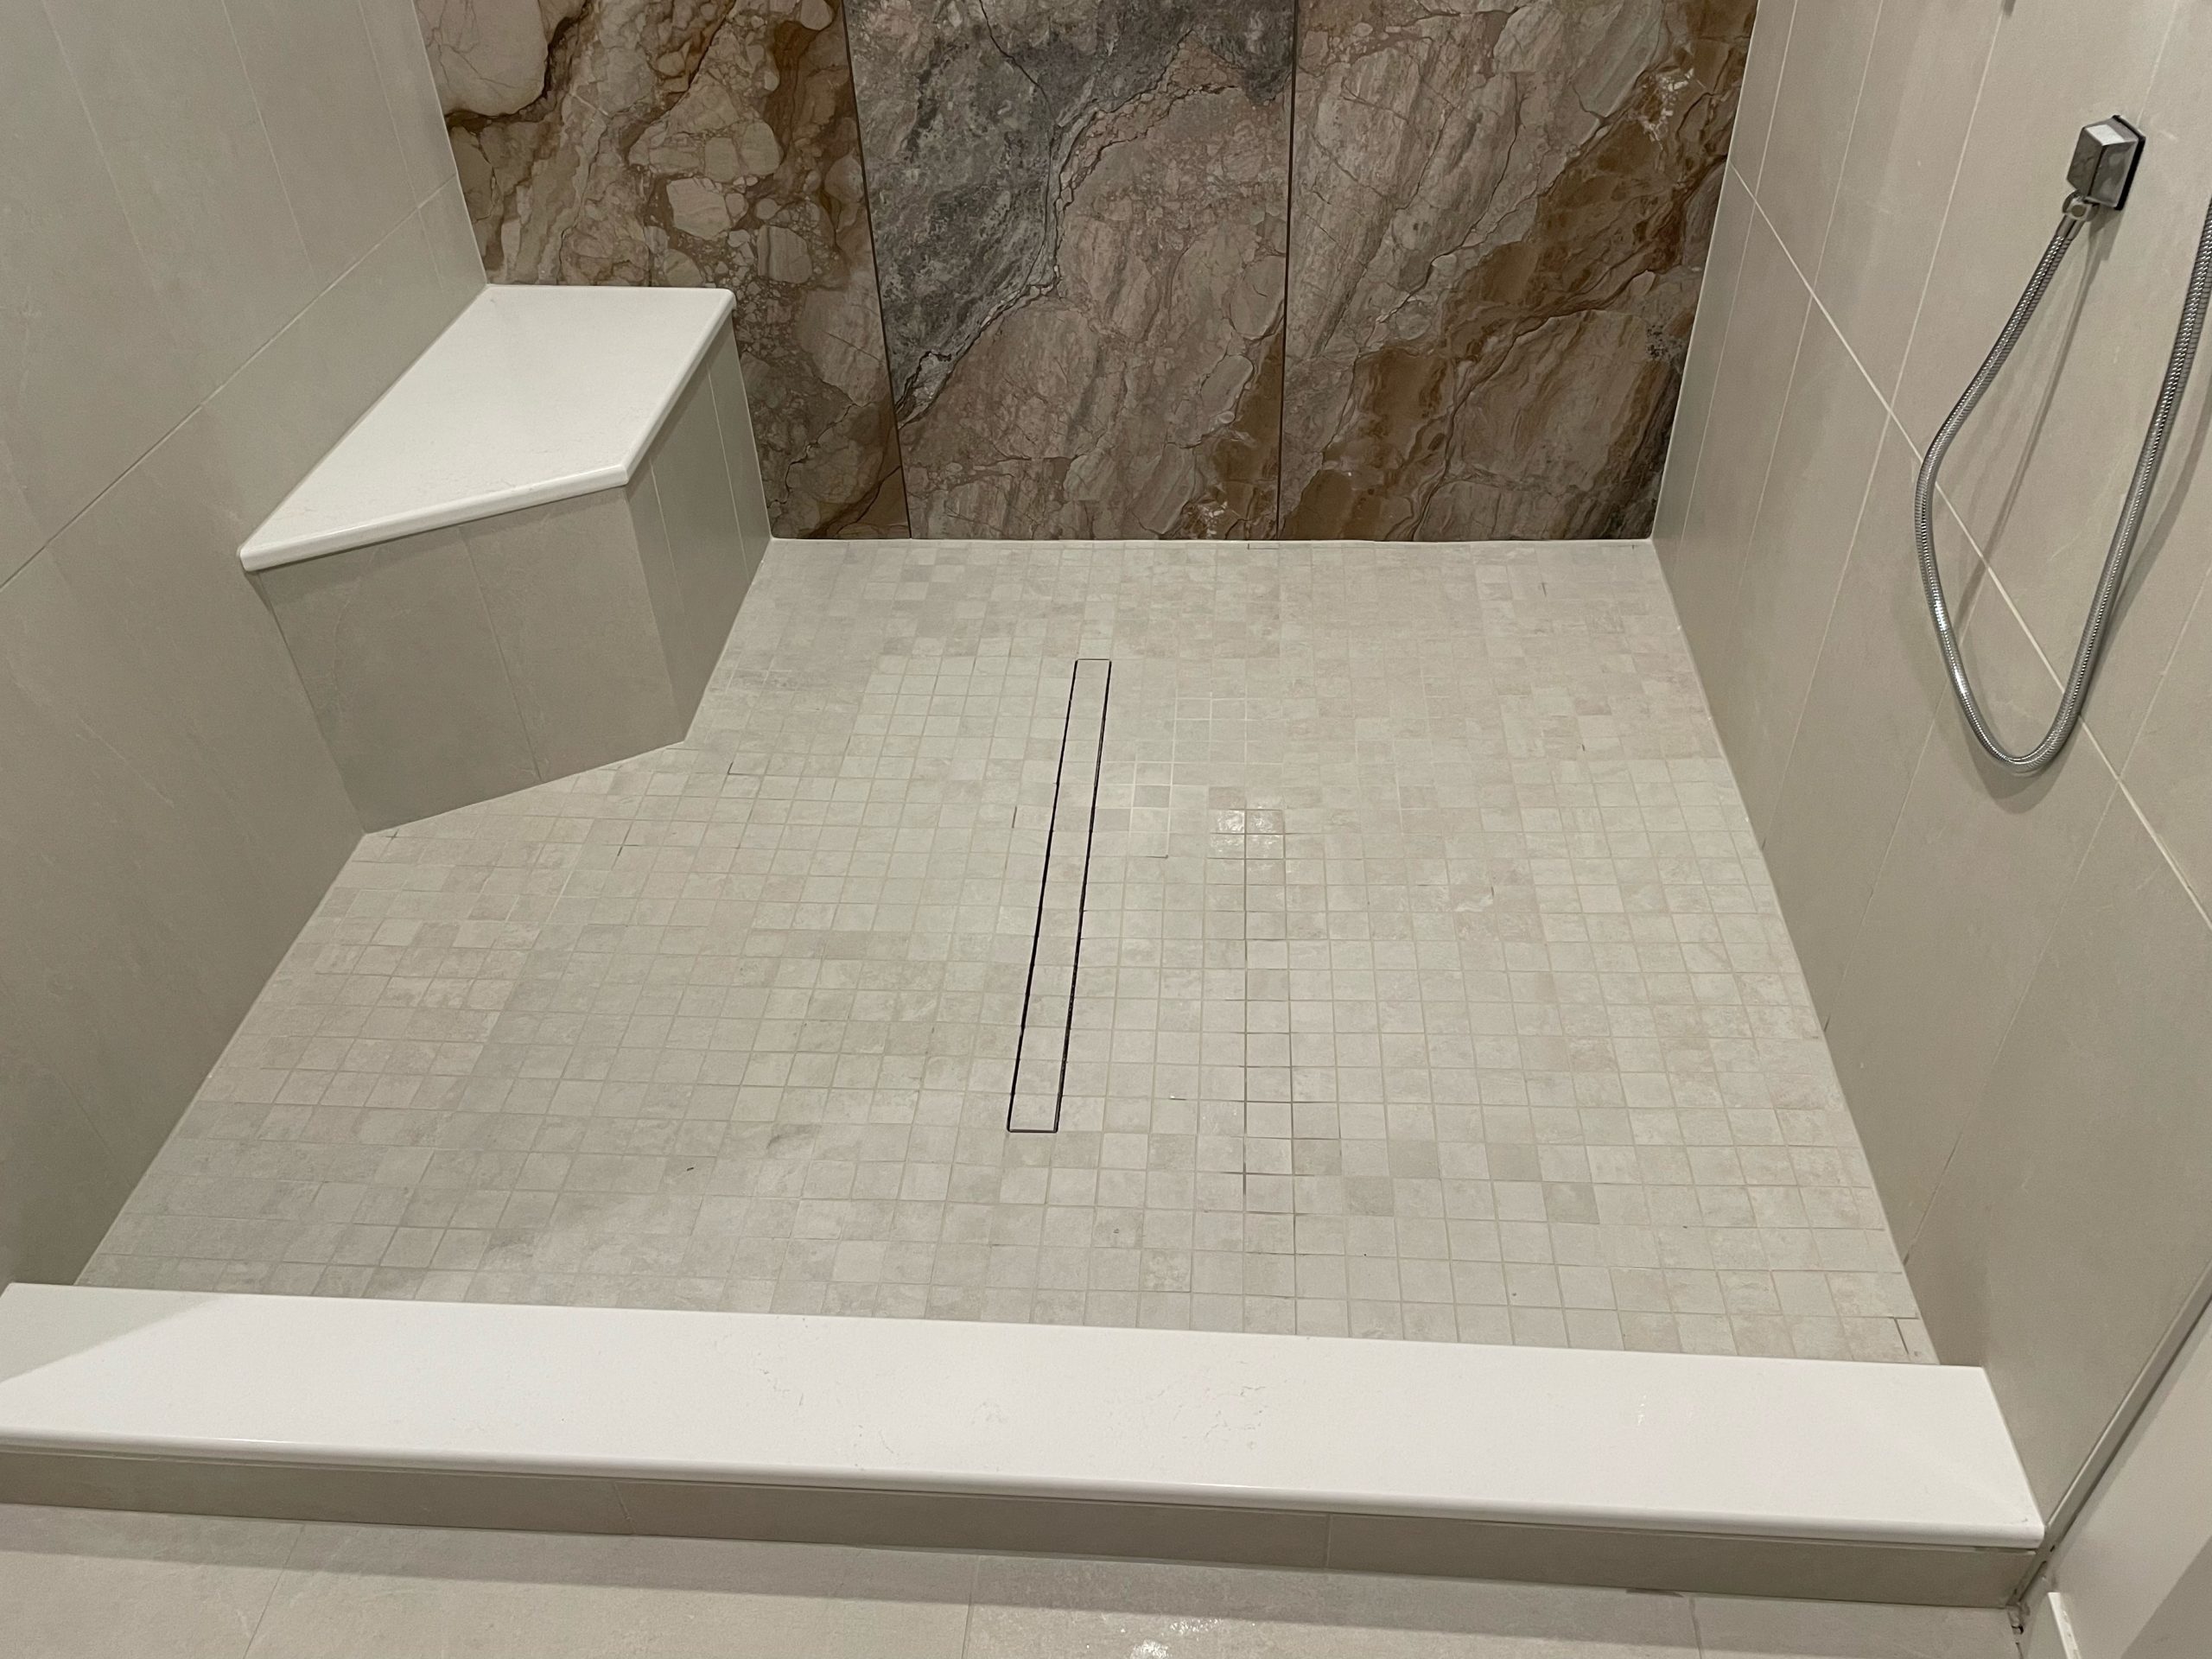
It is less complicated to apply grout just to the joints of a large-format floor tile whereas a tiny mosaic will require to be almost fully covered to fill out every one of the joints. Once you are finished grouting, it is likely that a grout haze will create on the surface of the tiles.
Let the cement set up for a few hrs, and after that use an advised cement haze eliminator as well as a completely dry or practically completely dry sponge or rag. Come with the cement line at an angled to prevent removing grout from the joint. Next, you'll want to strike your grout line. This indicates using a sponge that is practically completely dry to pull throughout the grout, smoothing it.
The Greatest Guide To Tile Installation San Antonio
When your floor tile flooring is total, it's time to use the grout. Grout fills the rooms in between the floor tiles. Like paint, grout can be available in a range of color choices that match or match your floor tile. Before grouting, get rid of all your tile spacers. Leaving the spacers in position and also grouting over them will certainly compromise the stability of the grout.
Mix grout according to package instructions. After the grout is all set, spread it in brushing up arcs with the rubber grout float held at a superficial angle. Apply at a 45-degree angle to the areas between tiles to stop the float from pushing right into the spaces and also creating irregular cement surfaces.
Unknown Facts About Tile Installation San Antonio
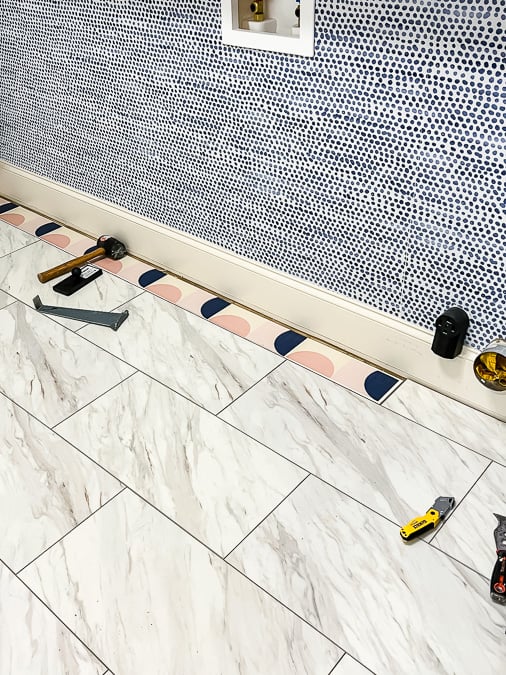
For joints 1/8-inch to 1/2-inch, utilize sanded grout. Follow the floor tile producer's suggestions. If there are voids between the tile as well as the wall surface, be sure to fill up the space with caulk to maintain water from getting under the floor tile or right into the wall.
It also will not fracture as well as can be replaced quickly. While you can also fill up the gaps with mortar or cement, it is not as versatile, waterproof or very easy to fix as caulk.
3 out of 5Moderate, Laying floor tile can be tough on the knees and also back $4 to $8 average cost per square foot, Joe Ferrante has actually been laying ceramic tile for 30 yearsmany of them for This Old Houseand nevertheless this time around, he's still enamored with the product - tile installation san antonio. "I like ceramic tile," he says.
Tile Installation San Antonio - An Overview
Image by Gregory Nemec Pursue a layout that takes full advantage of the number of whole floor tiles and the size of any cut floor tiles. When awkwardly sized ceramic this content tiles can't be prevented, put them where vanities will cover them later on or out of the main view lines from the doorway. You should not step on any floor tiles till the thinset has actually treated for a minimum of 24 hours.
The line going across at the article room's facility are the starting point of the floor tile. Lay a row of ceramic tiles along a straightedge extra than halfway across the area.
The Basic Principles Of Tile Installation San Antonio

After adjusting the A-to-B line, mark the center ceramic tile where it touches the chalk line in between the various other walls (call them C as well as D). Straighten these marks with the C-to-D chalk line. Repeat the measuring redirected here as well as adjusting procedure for wall surfaces C as well as D. Lay a straightedge parallel to the C-to-D line as well as versus one side of the facility ceramic tile.
Mix just as much thinset as you can make use of in 2 hrs. With the level side of a trowel, spread a slim layer of thinset (scratch layer) over a 2-by-3-foot location beside the straightedge. Prior to the scratch coat dries, apply even more thinset using the notched side of the trowel.